So… it's been awhile since I updated. I started to transition off GAPS in late 2014, but have remained gluten-free. It's been a time of learning for me. Over the five years I stuck with GAPS, I had hoped I would be one of those people who could take or leave or maybe not even like previous favorites.
I had heard people talk about how they stayed off potatoes for two years and “Now I don't even like them. I prefer Faux-tatoes.” Well, that was not the case for me. Not by a mile. I started out with baby red potatoes. They are really expensive, so I progressed to regular white potatoes. They are delicious. I ate them fried, baked, mashed. Still delicious. I salivate thinking about them. I started eating potato chips. Just a handful. Then by the bagful.
Rice. I could eat 4 cups of rice in one sitting. I love rice. We get along perfectly fine. Except that I binge when eating rice. I've tried cooking just a “serving” worth of rice. That's 1/2 cup, just FYI. And 1/2 cup is 8 level tablespoons or 4 heaping tablespoons. That's four bites. What is the point of eating four bites of rice?
Corn. The worst is popcorn. My husband was on a popcorn jag. He would make popcorn every day. He never thinks twice about anything he eats. He doesn't care if his pants get bigger. He is one of those people who naturally just do not get very big. He's 5'10” and has weighed as much as 225, but that's about as big as he's ever gotten. He has a hard time understanding my compulsions with food. So he makes popcorn. He would leave the bowl sitting around the house. I would get home from work. There's the popcorn, shouting at me. I finish the bowl. Even though it's cold. And stale from sitting. I could eat a huge bowl of popcorn three times a day. I love the stuff. And then there are the corn tortillas, and the tortillas chips. And the corn on the cob.
Obviously, eating huge amounts of these starch foods is going to cause weight gain. And indeed, I gained weight.
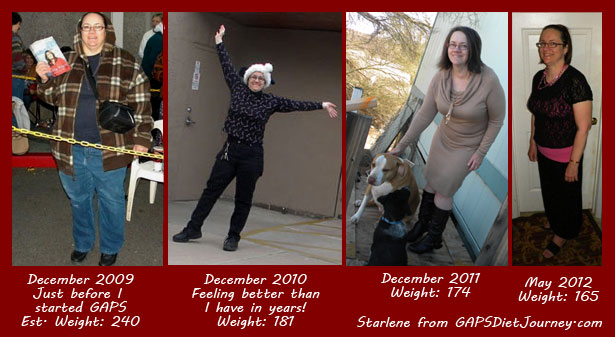
When I visited my asthma-allergy specialist in January (who is still impressed that I do not need to use asthma medication except for on very rare occasions), with my shoes and clothes on, I weighed in at 203. I knew I was getting up there since my pants were getting uncomfortably tight. I'm wearing size 12 in Lee's. When I moved from the 10s, it was supposed to be temporary. I was going to do something. I did something all right. I kept on eating high starch, high carbohydrate foods. But when my 12s started to get tight, I panicked a little. I do not want to keep gaining weight and end up as big as I was when I started on GAPS. For one thing, then I would be “one of those people” who lost weight and gained it all back. I know, it happens to a lot of us, but I can't go there again. I just can't.
So… finally last Thursday I was ready. Sometimes you just have to wait until it's time, you know what I mean? I woke up that morning and stepped on the scale (I'd been scared to do so)… I weigh 195 pounds. At least it wasn't over 200! 🙂 Yikes!
And I know the number shouldn't count! But the fact remains, my pants are tight, and I don't want to buy a bigger pair!
Something I'll do every so often is to get hooked up with My Fitness Pal and start counting my calories. It actually helps me to stay on track with my eating habits. For example, I find myself mindlessly eating on the weekend days. I'll grab a handful of chocolate chips, or nuts, or eat yogurt or popcorn, or any number of other things. But if I know I need to log the foods I'm eating, it helps me to stick to my guns.
So… it's been a week, and I have not lost any weight. However, I have maintained at 195. And interestingly enough, my pants are fitting better.
To get started, I have allowed myself to have some of the foods I was having, I'm just attempting to keep to the number of calories allotted.
Oh, something funny I want to share. I had downloaded the app to my phone, which is a Samsung Galaxy II. It's old. And slow. I was putting in my settings on My Fitness Pal, my energy level, how many pounds I'd like to lose, etc. And it said I could have 2,300 calorie a day! I was like, wow! I know that's a lot. I can do that! But when I was trying to put the foods I'd eaten for breakfast, it was taking such a long time that I gave up using my phone and went to the computer.
I logged in and good grief! I laughed because I realized somehow I'd set the app up to say I wanted to GAIN one pound every week! That was not right. Definitely no.
Anyway… I did want to talk a little bit about where I'm at health-wise. It's not all about food and weight. Definitely not.
I continue to support my adrenals and thyroid. I feel like I'm doing very well energy-wise. I get in from 1 to 4 miles walking every day at my job. I started line dancing several months ago. It is one of the great joys in my life and I look forward to my weekly class.
My mood is also fairly even. Prior to GAPS I was exhausted a lot, I couldn't handle much stress and felt depressed often. Now I handle a great deal of stress, and can do so even when I only get five hours sleep at night. And I'm happy often. I wish I had more time to do the things I love to do, but I guess most of us have that wish.
I still occasionally have insomnia. I have learned for myself it is a blood sugar issue, and if I go too low on my carbohydrates I am sure to have insomnia. Which I really dislike waking in the middle of the night and then just lying there trying to go back to sleep. I'm hoping by tracking my food I will be able to figure out if there is a connection to what I'm eating.
I'm going to be doing some experimenting with the foods I'm eating. I am pretty sure that I am sensitive to dairy products, and I suspect they cause me to have inflammation, which would cause weight gain. I stopped buying butter and am trying to learn how to enjoy vegetables without butter. I like raw vegetables plain just fine, but I don't like naked cooked vegetables as much as I like them slathered with butter. But I think I eat too much when I eat butter. I think it is possibly a food that causes me to binge eat.
I am planning to eliminate dairy – I don't eat it all that much, but I have had yogurt on hand, sour cream, etc. I suspect it is a food that I don't tolerate well, simply because of the “love” I feel toward it.
I have also learned, I think, to distinguish between foods that are possibly allergens because I find they are foods I want to binge on. I have learned there is a difference between “loving” a food and being “psychotically in love” with it. Do you know what I mean?
I'm going to be sticking with mostly the GAPS legal food list, but also some other things like sweet potatoes. They are a safe source of starches for me. Speaking of safe starches… the Paleo Diet matches up pretty closely with GAPS and I will be using some of the foods on the Paleo list, too.
Do you know about the Paleo Dork FREE bundle that is in progress right now? Over 70 e-products FREE, and my Pumpkin [affiliate link] Treats is included! The only thing you have to do is sign up for the Paleo Dorks' newsletter. Click here to get yours now! Sale runs through to Friday February 12th. Don't delay, get yours today!

GAPS DIET JOURNEY is a participant in the Amazon Services LLC Associates Program, an affiliate advertising program designed to provide a means for sites to earn advertising fees by advertising and linking to AMAZON.COM. GAPS DIET JOURNEY is an affiliate for several companies and may be compensated through advertising and marketing channels. Therefore, this post may contain affiliate links.


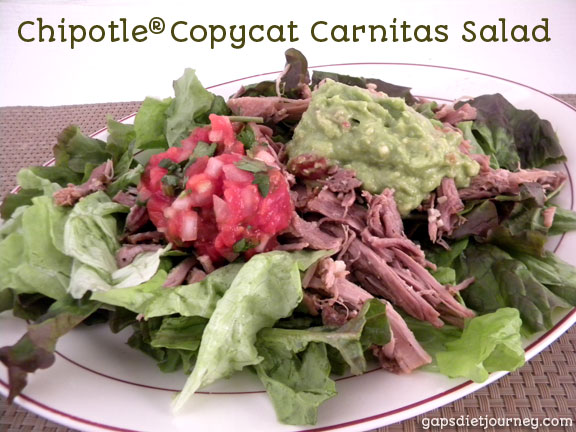

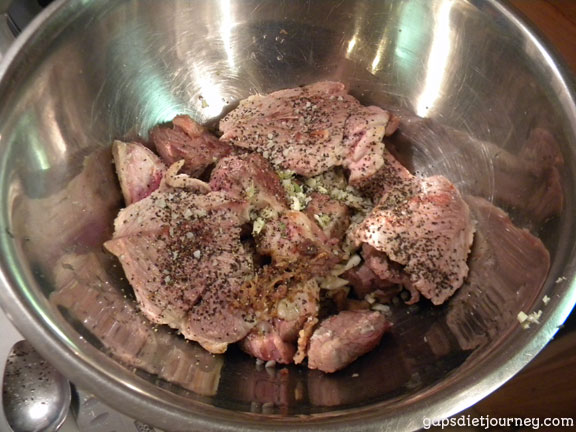
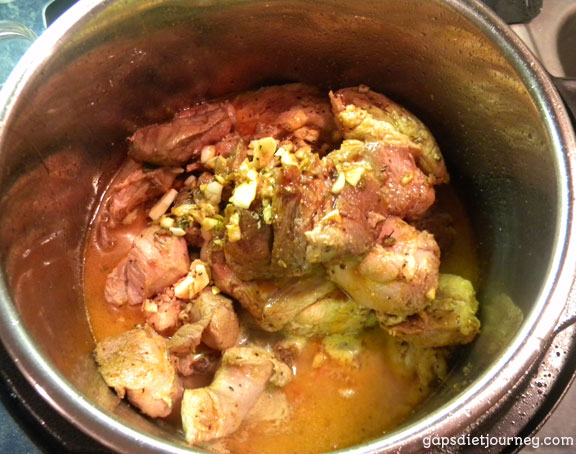

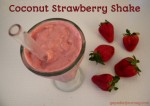
 This is a very simple recipe with just three ingredients. You may need just a dab of
 Today I have a guest post from Sheeva who blogs at Health Wanderer. Sheeva has been on GAPS for almost one year and has had many symptoms disappear as her gut health improved.