
Fall is just around the corner. Although it won’t actually feel “cold” where I live until the last week of October, I can already feel fall. One huge indicator is that it doesn’t feel like I’m walking into an oven when I step on my porch in the early morning.
With fall comes the desire for all things pumpkin [affiliate link]… pumpkin bread, hot pumpkin cocoa, pumpkin cupcakes, thick pumpkin eggnog, pumpkin poppers, pumpkin pie custard, pumpkin coconut smoothies, pumpkin spice latte and the list just goes on and on and on. Right?
And so comes my yearly trivia blurb about pumpkin… did you know that canned pumpkin is not only pumpkin? It also contains winter squashes, like butternut squash and Hubbard squash. My “pumpkin” of choice is butternut squash. I love the smooth texture, deep orange color and its year-round availability. I buy 2-3 squashes at a time because they stay good forever just sitting on the counter. Then when the mood strikes I can have anything “pumpkin” I want within a few hours.
Butternut squash can be difficult to work with since it is so hard. If I’m in a really big rush for time I have been known to wash and dry the squash, place it in a casserole, (yes, whole), pour some water in the bottom, cover and bake until fork tender. That actually works out pretty good.
But most of the time I cut and deseed my butternut squash. It will take less time to bake since it is in smaller pieces.
I thought I would show you the process I take to safely cut butternut squash.
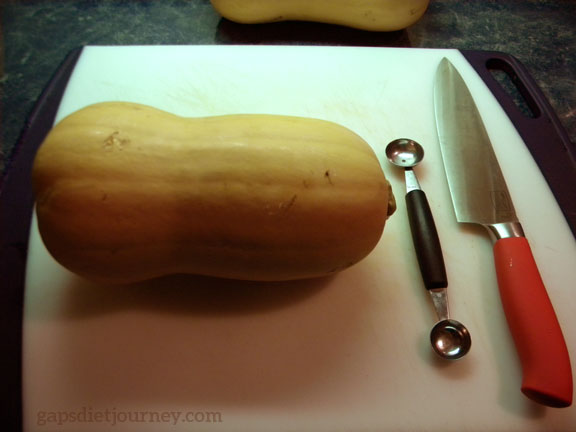
Okay, first of all I suggest washing and drying the squash. It was grown in the dirt in a field and has been handled by numerous people on its way to your local grocery store or coop or farmer’s market. And then people in the store have touched it. So, germs aplenty.
You’ll need a good sharp knife, and I like to use a melon baller to remove the seeds.
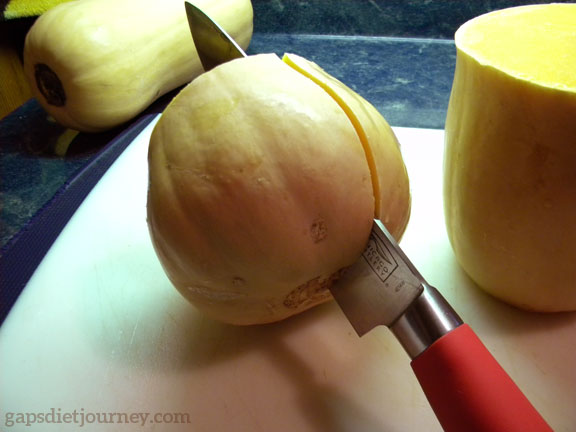
Next, cut off the stem. It is very much like wood and nearly impossible to cut through. You’re going to rock the knife back and forth to make your way through the squash. The video above will show you exactly what I’m talking about.

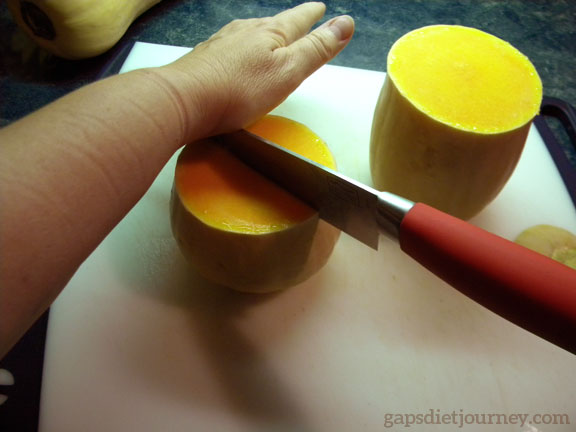
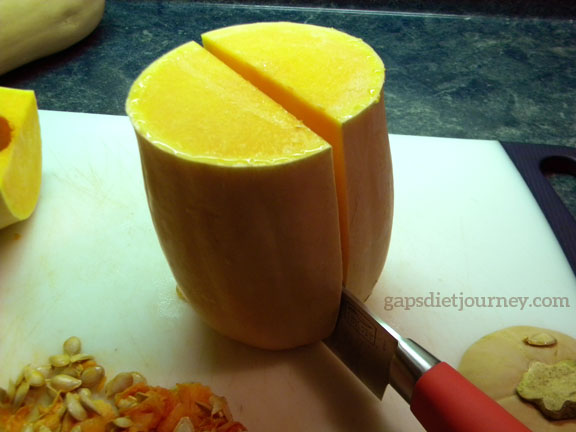
Next you’ll want to cut the squash in half. The end with the hard piece is the stem, which was connected to the plant through the vine. The other end is the blossom end. The blossom end is the side the seeds will be on. Find the squash’s waistline and place the knife on the squash and press firmly, rocking back and forth. Continue rocking and pressing down, keeping your fingers well out of the way until you make it through the squash and it is cut in half.

Take the blossom end and cut in half. You may take the ball of your hand and whack the blade of the knife to help move it down through the squash.
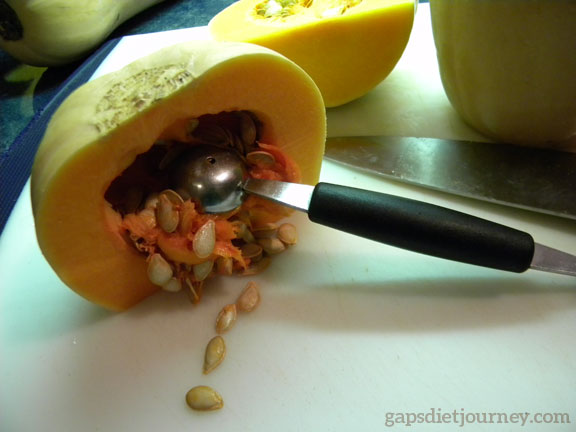
Use the melon baller to remove the seeds. These work remarkably well and much better than a spoon. Although the sides of the melon baller do not feel sharp, they do a really good job at scraping through the membrane that holds the seeds in the squash.
Finally, cut through the other half. If you were planning to make butternut squash fries, this is the end you will be able to use to make nice square long fries.
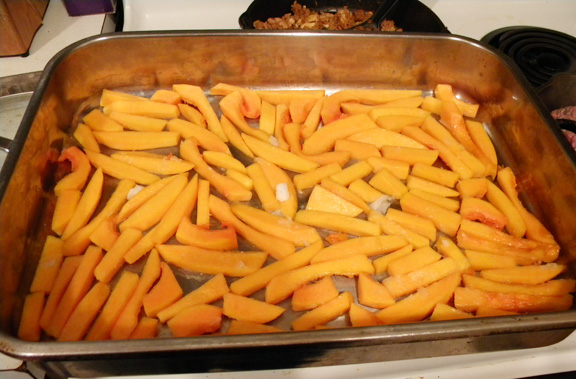
Baked Butternut Squash Fries
The main reason I peel butternut squash, is to turn them into fries!
How to Bake Butternut Squash
UPDATE: When baking butternut squash I do NOT bother peeling. I do like cutting it so that it bakes uniformly.
If you just put the butternut squash into the oven with the peel, when it is fork tender it is super easy to just scoop the flesh from the peel.
Place all the pieces into a large casserole and pour in about 1 inch of water.

Cover tightly. You can see I’ve taken two long strips of aluminum foil and folded them together, then securely attached the foil to my casserole dish.
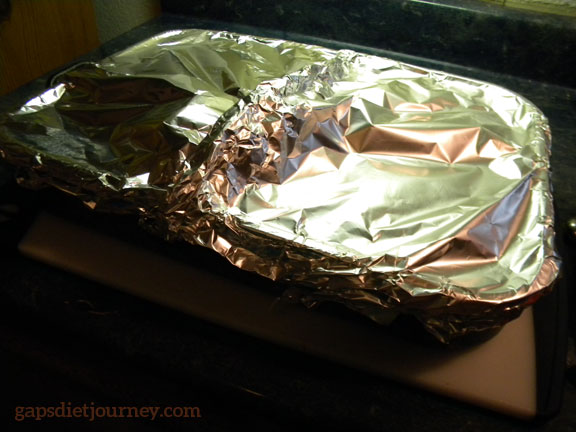
Bake at 350°F until very tender. You’ll be able to stick a fork into the butternut squash easily. This will take anywhere from one to two hours, but as long as there is water in the bottom you will be okay if it bakes a little longer than necessary.
After the squash is tender, remove the pan from the oven and remove the foil. Remove the squash from the water in the pan and allow to cool for an hour or two.
You can then use a spoon to scoop the squash from the skin.
What is your favorite squash?
Leave a Reply